Week1: Riggin overview- tenacle.
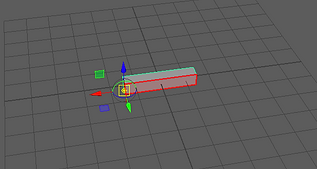
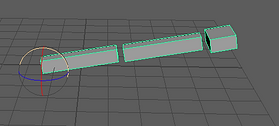


We are here back with our lecture Jason. In this first session, Jason took us through the basic workflow to generate the simples Rig in Maya. We began with simple shapes. As you can see in the picture on the left side. Parenting was the main thing for this part of the lecture. We followed him during the creation of a tentacle, creating a joint chain, skin mesh, adding controls. Then we used MASH one of my favourite things from last year's lectures.
Tentacle_process
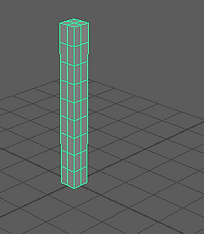
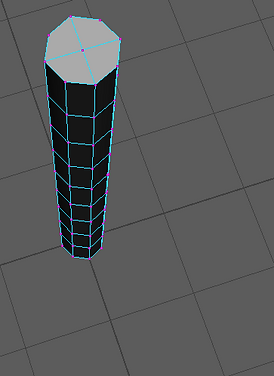
On this bar, you can the different types of thought selection. You will find this really useful.
After that, we will create the rig inside of our tentacle and parent or bind tools. I am saying these different tools because you have many different ways within Maya to achieve the same results. After you create the joins in the right places, parent the to the bind the to the poly tentacle.

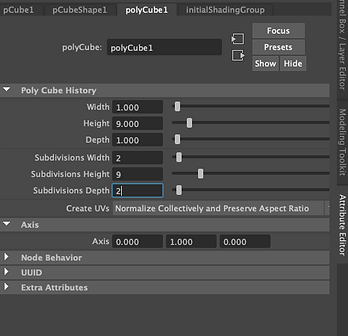
The beginning of our tentacle will be simple, bring a cube poly, then scale and add some subdivision, Using soft selection mode and add more vertex, to make it rounder.


Bind Skin:


After the Bind process where we link the poly to the join, we have to create some controls points that will control the different join the different sections also we will need to freeze the transformations in the joins.
Add expressions to the controllers:
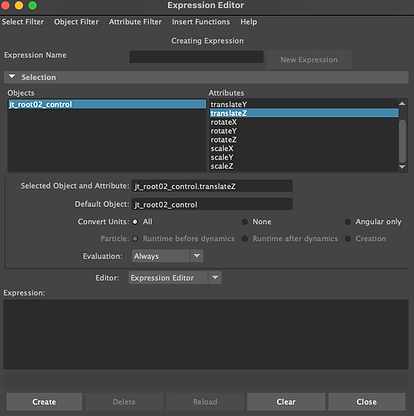
Adding expressions is something supper common to created loops for some animation, these expressions will be added in the different X,Y,Z
Tentacle video process
Tentacle video Done
WeeK 2: Joint Creation - ROBOT
During week 2 we look at Joins tools Bind, parenting, Join orientation, insert joins, and mirror joints. All these tools are very useful to make our character be perfectly linked to his body and make it move naturally.


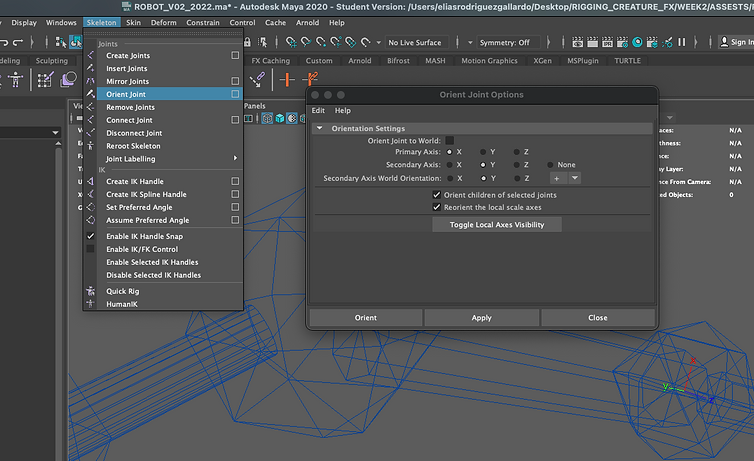
Orient Joint: is one of the most used tools in the second week for Rigging creatures.
Robot join creation process video
WeeK 3: Skinning - ARM
An Error I got just opening the file.

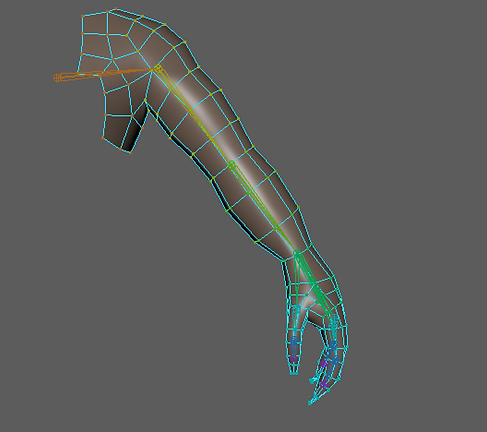

During Week 3, we were looking at the skinning tool, and how use it properly with an arm, this is a long process that is why I decided to record it.
Skinning_arm_process_video
Looking_Through_Camera_video
Toon_rendering_process_video

WeeK 4: Rigging Controls Robot - MKII PT 01.
During this week we were working on the new robot that Jason has created, applying new controls for his rig, and using different workflows for it. I have recorded some of the part processes and split them into the different key parts of the rigging process.
Controls_snaping_process
Controls_leg_kneew_elbow_process
Set_driver_driven_control_process
Claw_control_open_spin_process
WeeK 5: Rigging Controls Robot - MKII PT 02.
We have continued to use the robot MKII, but this time we were focused on creating the controls for the spine and its eyes, for the last part of the class we have a surprise with MASH, Jason likes to show us a bit of MASH that we could maybe apply to our final Rig.
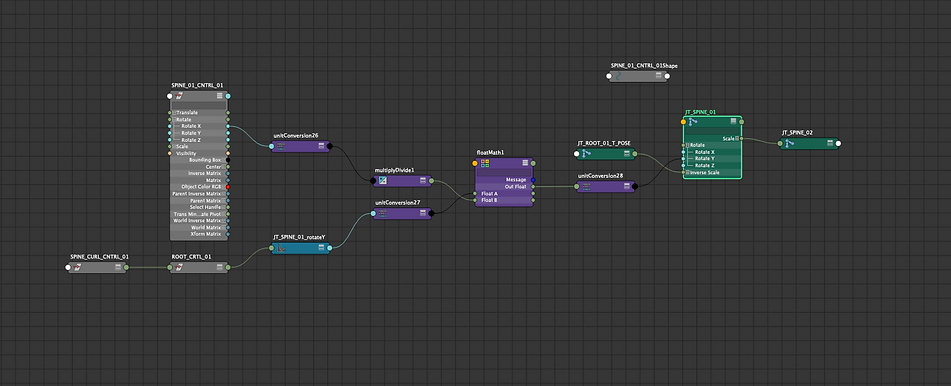
Root_rigging_spine_eyes_process
Smiley_face_MASH_process
Smiley_face_MASH_Arnold_render
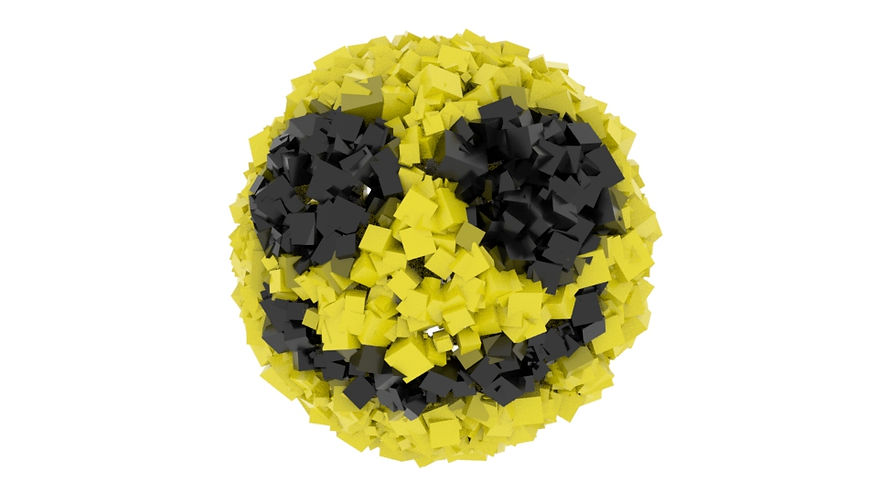
Smiley_face_MASH_ANIMATION
Week 6: HYDRAULICS
Week 6, I had followed Jason's videos, creating the natural movement of pistons, springs, and wires. All this to apply then on tu a Robot Rig that we will need to create for our first assessment. Also, these tips will help us to create the hydraulics in our Robot's arms and legs.
Piston_process
Spring_process
Wire_process
Arm_spring_piston_aim_parent_process
Tank_process


Assignment_01
Assignment 1: Mechanical Rig
It will be required to model and rig a mechanical machine using Autodesk Maya. The rig should be presented in the form of a Rig Demo, which should demonstrate all of the different aspects of the rig created by the student.
Task:
1) Create a rig for mechanical figure, creatively demonstrate its capabilities
2) Show screen grabs, recordings and explanations of the process involved.
3) Demonstrate techniques of rigging that have been explored during the module
4) Upload a rendered sequence of the Rigs capabilities to your Digital Sketchbook and the assessment page of Blackboard.
5) Upload the Maya file containing your Mechanical Rig to the assessment page of Blackboard.
Modelling process
Rigging FK process
FK_local_Rotation_Axex
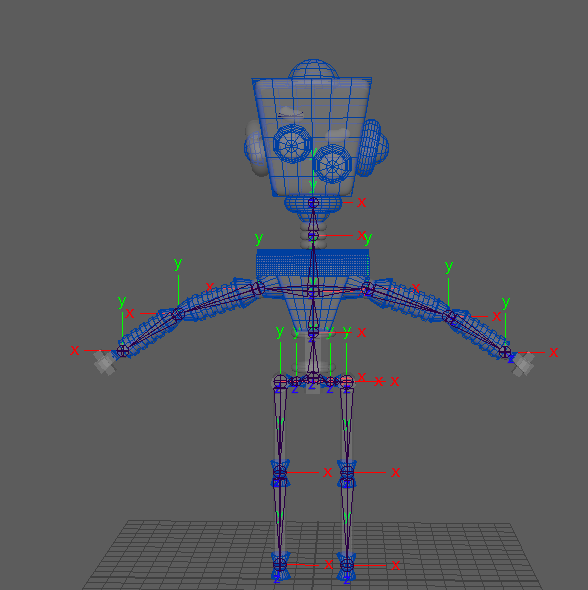
Rigging IK process
Eyes_control_test

Connection Editor Node

Final Renders and Videos


Week 8: Topology

During this week we were using Maya Quad Draw Tool and Maya Quad Draw Tool, with these tools we were able to retopologice the face of a large polycount face.
Retopology_process


Optimal Edge Loop Reduction Flows
An essential skill of modeling is knowing how to properly reduce the number of edge loops from a high mesh density to a low density. This involves some tricky topology. So let’s have a look at how to best reduce the various flow types.
2-1 and 4-1
The 2-1 and 4-1 flows are the trickiest to handle. Most methods involve substantial distortion of topology and/or the addition of more loops to the left or right of the intersection.
So, after experimenting with different forms, the results above seem to offer the least mesh distortion despite containing Tris and N-gons.
I apologize to any quad purists out there for the lack of quads. ;)
3-1, 4-2, and 5-3
The three of these flows are very standard flows that involve redirecting the edge loops back towards their origin. This trick is very effective. and maintains almost perfect topology in most situations.
As you can see, the 4-2 and 5-3 flows follow the form of the 3-1 flow. With the only differing factor being the number of center loops. This shows just how adaptable this method of reduction can be.
Week 9: Blendshapes
This week we were looking at a blend shapes tool, this tool is applied to modify the simple form of the mesh into what we want. The tool works by deforming the vertex of our mesh. This may be used for animation purposes on the face of our character.
This approach may be used for face animation, for example, with each target object representing a distinct facial emotion.
Basic blend shapes:
Mouth, using blend shapes, process.
Eye, using blend shapes, process.
Week 10: CRUMBLING CUBE MAN
This week was more MAsh with Jason, we love it. this time we had a mocap applied to a free. the character then we applied the MASH tool to create some different shapes and effects on our character. Like change the shape of it, make it look like is melting.
MASH, Mocap, Video clip look.
Week 11: Spline IK
Week 11, was about Spline IK handles, controlled by a join change of curves. This will follow the curve and flipping. It will give us more control over the entire IK handle change. We applied this to a simple 3D cat model. In these three videos, you will see the entire process of creating the skeleton, the skinning and the creation of the nerves and the handles.
spline_ik_basic_01
cat_spline_ik_02
skin_muscle_03
Week 12: Fur
Week 11, was about Spline IK handles, controlled by a join change of curves. This will follow the curve and flipping. It will give us more control over the entire IK handle change. We applied this to a simple 3D cat model. In these three videos, you will see the entire process of creating the skeleton, the skinning and the creation of the nerves and the handles.
Fur process_01
Fur process_02
Final Renders

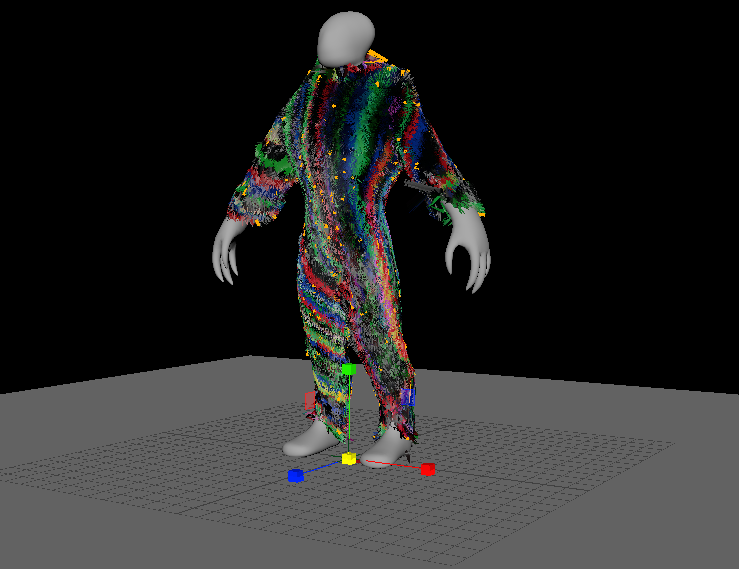
Assessment_02
Character_setup_01
Character_rigging_02
Xgen_step_03
Comb_brush_04
Clumb_noise_xgen_05
Applying_texture_hair_06
Camera_settings_07
Lighitng_08
Final_touch_09
Playback_test01 & some screenshots of the process.


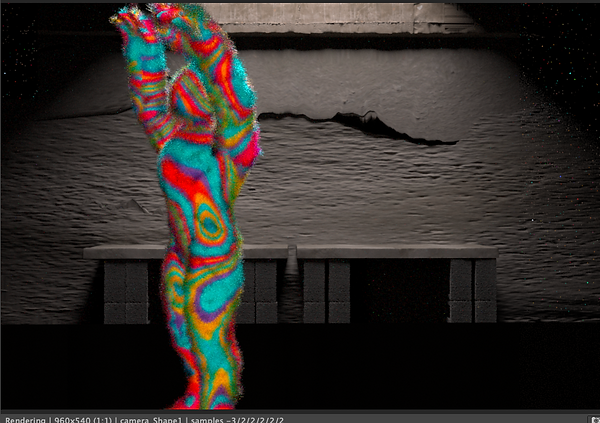
Final Frame_render.

