Week 1
Stonehenge Task: Sky Replacement


+
=


Alpha Channels


Resume of the task

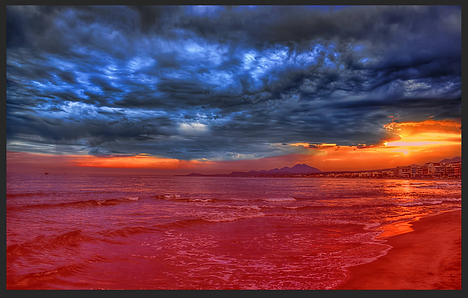
Color Range, and the pencil with the whit color made possible the montage. With color range, we had selected the areas of the sky where we wanted to be transparent, then we unhide the layer underneath. Now with the mask and the pencil we hide or unhide the parts of the sky that we want to make transparent to match perfectly the sky in the stones.
Week 2
Animal Hybrid Task

+

=
Tools for the task


Ostrichraptor

Zebraffe


+
=


Resume of the task

Both hybrids were done by the same process. In the giraffe case, we were copying different parts of the zebra and at the same time over or underexposing some parts of their body to make the light match. The clone tool was really useful in areas as the neck and the faces in both hybrids.
Week 2
Green Screen Task + Create an apocalyptic building

+


=

1
4

5


3
+

2

5
=

Resume of the task
Color Range to match and change the sky. Blending modes, to mix the shape of the building with oxide steel textures. Underexposed some parts on the wall to make it look like it was a fire in the building. The brush with the shape of sheets, leaves, to paint the wall of the building.
Task: Look up the artists Alexander Rodchenko, David Hockney, and John Stezaker. They all have worked with photographic collage. Select one of their collage images and discuss their style .
David Hockney


This image represents a different way of telling a story frame by frame with one picture. The collage capture a film made with the stop motion technique.
Week 3
Building (Temple) + Aircraft


Here we can see 3 different views of a Temple, that using the basics things have learned, a simple geometrical form I have to build this temple. We have been taught how to use the cameras to work around the interface in may, the differents shortcuts on the keyboard, and the different features that you can change on these geometrical forms, edges, vertex, faces


Spaceship Timelapse
Week 4
Mug, Glasses & kettle
Mug.01

Mug Timelapse
Glasses.01
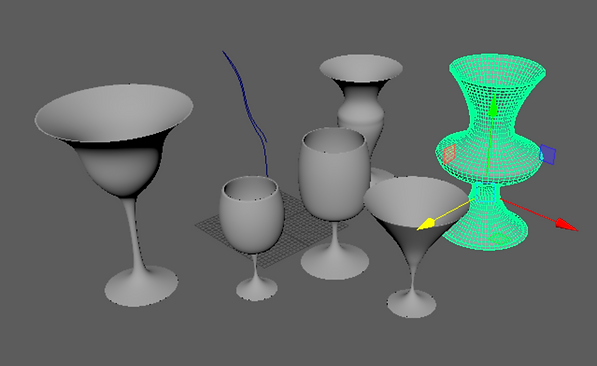
Glasses Timelapse
Kettle.01


Kettle Timelapse
Week 5
The Task: create a digital montage of a fake news event. It will capture the emotion and essence of this event. I will also create a body of work that explores photographic manipulation in Photoshop and demonstrate a series of compositing techniques that build to show a visual narrative.
Fake News: Covid-19 & Gills
The Times one of the most famous newspapers in London as a Reference for my Fake news task.

Faking the gills, on the different pictures.
Editing the newspaper, with fake images and changing some parts of the text.
Extras: Painting and Gaussian blur
Using some brushes I created the gills, also to cover the genitals of the baby.
Text for the Fake news idea
Yes, the new lockdown hurts like hell, but the NHS will survive this latest blow, and in the meantime, many will continue working.
Lockdown 2.0: the NHS face a second interval with a surprise.
Elias Rodriguez.
NHS and Government are bracing themselves for further national security devastation, as a second lockdown begins.
Prime minister Boris Johnson announced the lockdown on October 31, with a start date of November 5 and a scheduled end date of December 3. However, there is a concern in the NHS. The virus has changed, mutated, because of their families the NHS has been quiet for 7 months.
It is known that the virus affects the lungs, well in the case of some infected pregnant women, the virus has changed the growing process in her baby. The fetus at 3 months has growth gills. Scientifics are aware that humans in some stages of the growing process have gills, but this changed when their mother starts giving them oxygen and after a couple of weeks these gills disappeared. In the case of this born baby, the haven disappeared, how we can see in the images. This baby, of course, is a carrier with the covid-19, but we need an advantage, he can breathe under the water and also use his lungs to breathe normally.
Week 6: Lights and the AIStandardSurface


Week 7: MAPS and RENDERING


Week 8:Bond Gadget
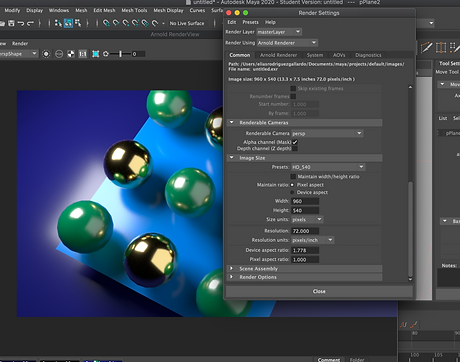
The task is to create a 3d object modeled in as realistic manner as possible. The object should ideally be based on a real object, this will allow the creation of real textures and will test your ability to model from real life. The object should ideally be a household object, (for example a kettle or iron), but it should be subverted in some way to be a James Bond gadget (e.g. a flame-throwing hairdryer).
The Idea: REC-Taser
MyJames Bond Gadget began with the simple idea of a taser, then I thought what could be useful in a taser, a camera with audio recording! Imaging be the best spy in the world 007, and your mission is to get some information in the middle of a festival or shopping center, where you need to knock out the target and get the information straight away, also proving that that's the real target, with this amazing gadget you have everything, the power to intimidated and also an easy way to keep the information, audio and video.

Here we can see the Rec-taser resting on the table. I created this figure starting off with two simple pieces, a sphere, and a square. Duplicating some of these spheres and adding some extra figures I made the lens of our (Rec-Taser), as you can see it is on the top.
On the central sphere, I had added a standard surface, changed the values in base, specular, transmission, and the surface I had reach the features of a lens. The illumination is pretty basic, two different point of light, the first one a quad light, that later on, it will look like a led lamp, the second light it is a cylinder as light shape, It will look like a table lamp. Both of them with the samples to 3 to reduce the noise on the scene ( shadows, and reflections on the table ).


Previusly using Arnold I created the light that now you can see better on the table and the led lamp next to the table. Arnold is a really useful pluging in maya where you can created the lights and see the render image of scene.
I had have include a light skydome, to see how would look with a fake background.

Shortcut - keyboard space

Combine (to unified the main figures in the scene)

Arnold (Area Lights)

Curve tool (to make table lamp)
Bond Gadget Timelapse
In this video, I showed how to change the shape of the main figure, turning on black and relocating some of the values to make look more realistic. In addition, you can see how I added some lights to the scene, and how they affect on the object.
In the second timelapse, it is shown how I been working on the Rec-Taser project (the workflow). First, you can see how I made the lens, then the edges of the lens. Second, the edges of the taser area, where later will be the lighting, and the two steel parts where the electricity is run to hit the possible target. Third the small screen where will appear menu, the battery life and the state of the recording.
father more in the last digital tool lesson we have learned how to create a cable and also how to add some lightning which I used to improve and make it look better in my renders.
Final Renders

Week 9: UV Mapping & PBR Shader networks
UVs, we got the hang of UV Editor, UV Toolkit, and overall logic of UVs, as an important and useful tool in 3D modeling and texturing. Basically, UV lays out the objects flat they can be seen in flat out in the UV editor window. All the texture will apply to 0-1 space of the UV Editor. When modeling different and complicated objects, UVs become distorted. It is important to avoid distortion or at least minimize it when it comes to texturing.
Texel Density is also another important thing to bear in mind, meaning how many pixels are going to be in the image face. We need to keep Texel Density even all over our objects and faces.
The Mushroon Shape UV mapping practice.

Uv Projections
Sometimes Uvs are wrong and distorted, but we can make UV mapping projection o project from a different view. In the screenshot next to this text you can see all the different projections you can do.


I had made the cut in the different areas where I will project the image. Under Uvs menu, select 3d cut and Sew Uv tool, it enables us to select edges and cut any object in a different part, pressing W you can move the different parts (shells) through your UV mapping.
Everything ready to lay them out flat. using the UV toolkit, I pressed unfold and then straighten Shell, afterward, I used the Smooth tool. This tool works handle: unfold and relax, using both to find the better shape for our creation to make it look better. You can do this process in a different order until the UVs match perfectly with the shape of your object.
To relocated everything into 0-1 space, select all shells and press Shift + Layout in the UV toolkit. pressing reset option under the edit menu in the box set spacing preset to 2048 and changed prescale to object. Using Texel Density settings under transform menu in UV toolkit to make all shells even.
Week 10: Megascans, Bridge, Mixer
Creating a PBR shading network for a brick wall. We also gained an understanding of how to create PBR shaders using Megascans Bridge and Mixer software. We are creating shading networks to mimic real words.
Different PBR Maps
-
Albedo: Raw color of the object, like base color.
-
Bump: Adds more details. In Bump shader, white is bumpier, and Black is less bumpy.
-
Displacement: Uses only the red channel, but is not red. We move the mesh using this map. Displacement maps are .exr files, and they can hold a lot of information.
-
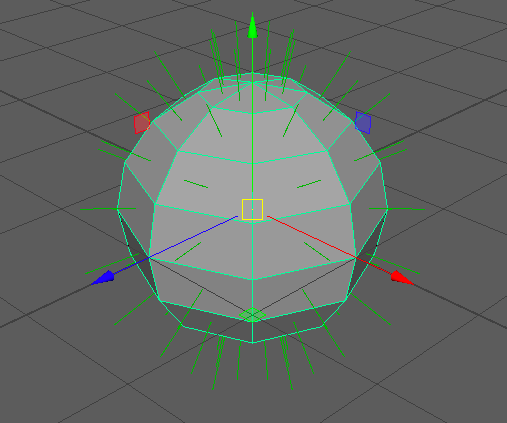
Normal: this map is like a Bump shader, gives an illusion of depth to the surface. This map basically shows the direction of every surface.
-
Roughness: This shows how sharp or soft the reflections are.
-
Specular: Shows how reflective are the surfaces, using a grayscale map.

-
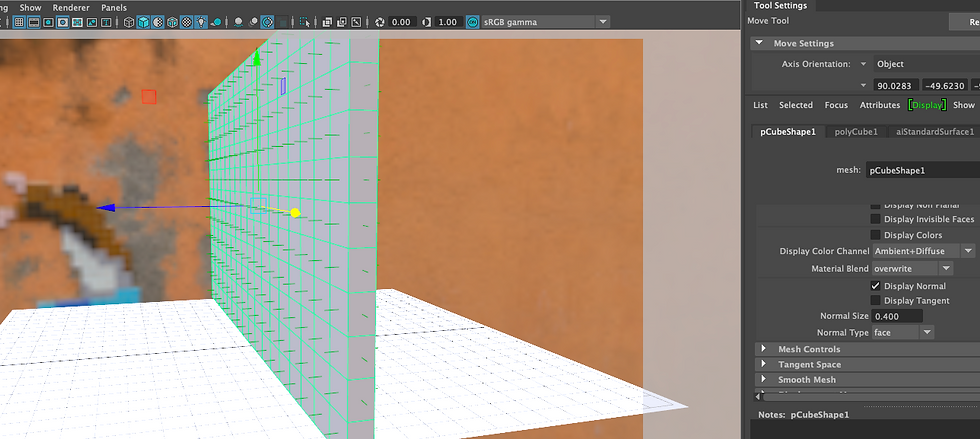
Put all the maps into Sourceimages folder inside my project folder. Place2dTexture: Go to these settings to change Repeat UVs (when the texture is too big) and translate frame options. After setting up Place2dTexture for Albedo map: in Hypershade, select the Albedo map and go to Edit-> Duplicate -> With connections to Network. This helps us to duplicate the Albedo and make other shaders. Note: Colour Space: For colour images: sRGB / For 0-1 maps & grayscale images: Raw

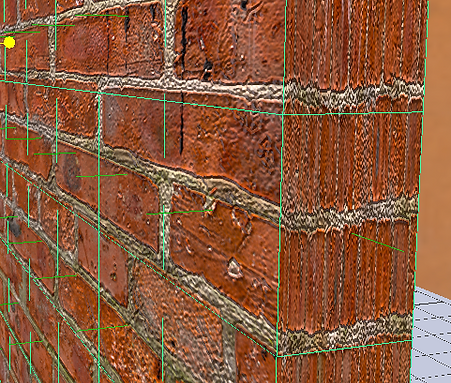
Note: After adding the specular, roughness map, bump and displacement map, turn on "Alpha is luminance" under colour balance in file node (in Hypershade, when importing the file and setting colour space). Connect roughness to Specular RoughnessAdd bump map to fake depth (like drop shadowing) on the surface—White: more deep, black: less deep. After importing the bump map, go to the shader and find Bump mapping under Geometry. This will create a node for us to connect our bump map to it. Note: Bump map does not lift the surface. The surface still will be flat after adding bump shader. Make aINormalMap to connect the normal map to it. Then connect it to Normal Camera (like Bump).
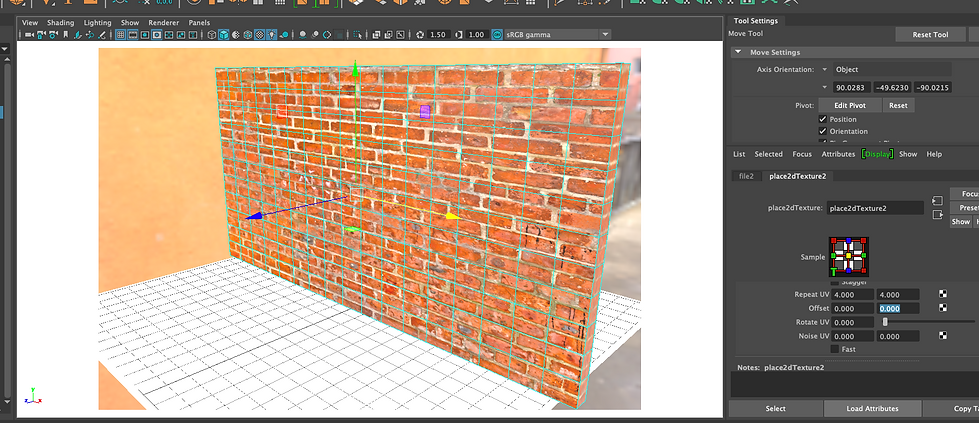
Note: Normal map is more realistic than the Bump map. Add displacement map: displace a physical mesh using the map.
Note: Displacement map should be connected to Shading Group (the last node in the shading network), not the material node. In between the shading group and displacement map, we need a DisplacementShader node. Subdivide at render time: go to Subdivisions under Shape tab in Attribute Editor. Set up type and iterations. Change Displacement attributes under the Shape tab: Hight, Bounds Padding, Scaler Zero Value. Set Scaler Zero Value to 0.5.


To export to Maya, first go to File -> Export to Library. Then, we can access the mix in Bridge. As before, after exporting to Maya, we may need to change 2dTexture Placement Attributes (Translate Frames & Repeat UVs) and Arnold Subdivisions and Displacement Attributes.
Final Renders

Week 11: Substance Painter


To export to Maya, first go to File -> Export to Library. Then, we can access the mix in Bridge. As before, after exporting to Maya, we may need to change 2dTexture Placement Attributes (Translate Frames & Repeat UVs) and Arnold Subdivisions and Displacement Attributes. To export the model, we select all parts of it and go to File -> Export Selection. We need to set the file type to FBX. Then, go to Substance Painter and create a new file. Set Resolution to 2048 and uncheck Auto-Unwrap and Import Cameras as we do not need them now. Select the FBX file that was exported from Maya. The first thing after importing the model is to go to Edit -> Bake Mesh Maps. I set the output size to 2048. We need to turn off Normal and Thickness. We may need Thickness when our models need Subsurface Scattering. In this case, we do not need that.
To export, go to File -> Export Textures. Change File Type to "Based on output template". Change the Height file-type from png to EXR. Choose aIStandardSurface for Output Template. I export the textures to Sourimages folder in my Maya Project folders.
Time-lapse of the entire process Substance painter & Maya
Assessgnmet 2 New York Roof-top


New York Roof-top, Time-Lapse & process
Final Renders


Time Leap: Western Bar


Final Renders


