Performance Animation
Week 1: Maya QUAD DRAW TOOL
During our first week, we learned how to use Quad Draw in Maya, basically, this tool gave us the chance to retopology our mesh to reduce or increase the number of polygons.

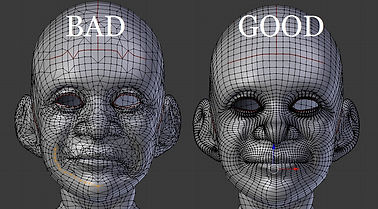
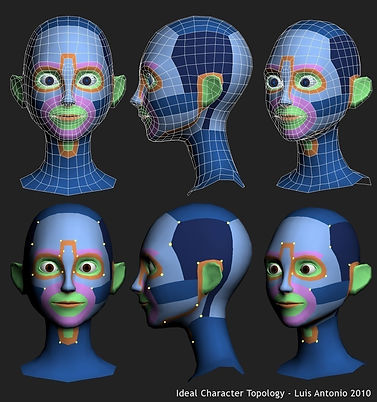
Retopologize in Maya
We have the opportunity of retopologizing our sculpt using this tool while we keep the shape of our reference surface. During this exercise, I chosen to work on one of my personal projects.
Retopologize, Gorilla.
I have previously made a low poly model of the 14 million polygons in the mesh, then we can see better our polygons. I used the Zremesher.
Week 2: RETOPOLOGISE ZBRUSH
During week 2, we were using Zbrush, the approach of Retopologies using ZModeller, attempting to retopologising one of the demo faces in Zbrush. We also compare these tools to Zremesh which is the quickest version of this. The most important brush for the step by step retopology process will be Dam Standart, Move, HPolish, and TrimRect.
Week 3: Hard Surface Modelling - ZBrush
In week 3, I followed Angus videos for the hard surface modelling lecture in Zbrush. I have created The robot Head Following each step, Also following other tips given in class. I have worked with the different brushes, Trim, Slisecurve and alphas.
Clip_curve_tool_process
slice_curve_tool_process
trim_curve_tool_process
antenna_modelling_process
Robot_maya_render_process
Robot_substance_painter_process
Final Renders


Week 04: HumanIK in Maya.
Maya rigging system IK Rig during week 4. Followed by painting weights, which is something that we have look in the same week with Jason, the lecture was focused mostly in apply the Mocap sessions to our Rig, applying the data we got from these records.

Skeleton_mocap_process
Steps to follow in the process and tips.
-
Opened up Quick Rig. Skeleton -> Quick Rig. Clicked on + selected Step-By-Step.
-
Selected the entire mesh and clicked on + to add them to the tool.
-
Chose Polygon Soup for the Embed Method.
-
Hit the Create/Update button to make the joints.
-
Move the joins if it is necessary.
-
Mirror option.
-
Because we have mocap data, I chose Skeleton Only.
-
Import Mocap Data.
-
Select the root, go to Select -> Hierarchy and then zero out the rotation. Then rotate X 90 degrees.
-
I renamed the skeleton.
-
Selected None for the Character. Then Create Character Definition.
-
For each joint, first, I selected them, then right-clicked on the corresponding bone, and chose Assign Selected Bone.
-
Renamed it to "MC" which means Motion Capture data.
-
Selected the skeleton as the character and MC as the source.
Week 05: Substance Painter Workshop
This amazing tool has so many possibilities, it is used to texture the most famous assets you can imagine and know. it's Masking and texturing features make it possible to achieve hyper-realistic outcomes. I have used this software before to texture the legendary X-wing, star wars ship.
Below you will find a gallery with some screenshots I have taken during the process, also a video of the entire process and the modelling part.

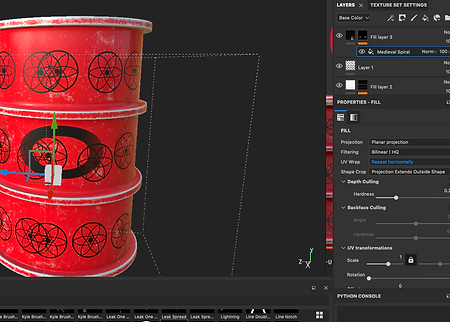
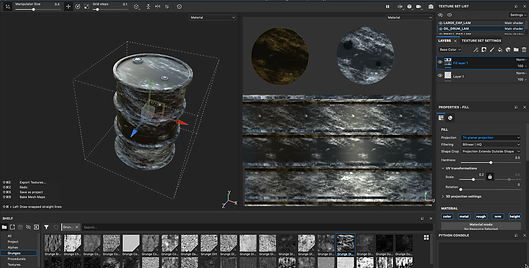

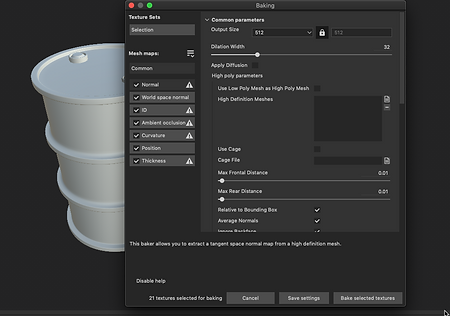
BARREL_MAYA_SUBSTANCE_PROCESS
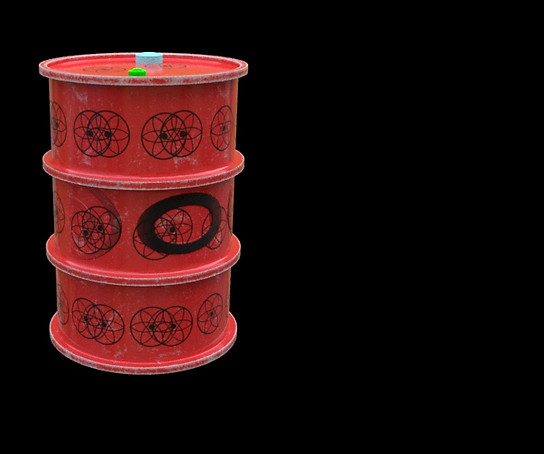


FINAL RENDERS
NODE_GRAPHA_LAYOUT_DISPLASMENT_MAP

Week 06: ZBrush to Maya Pipeline.
During Week 6 we followed the process of sculping something in Zbrush and took it to Maya.
The process:
Duplicating and renaming the model. Before duplication, in this case, I merged down all the sub tools to have only 1 subtool for duplication. I renamed the duplicated model and named it.
Using Zremesher to create a low poly version of the model. Then I subdivided the low poly model into five times.
Projecting the mesh information onto the low poly model. By doing this, the low poly model becomes very similar to the high poly one, although the low poly model has much fewer polygons than the high poly one. Generating UV mapping in ZBrush. To do that, I changed the model to the lowest subdivision version under Geometry. Then I went to Zplugin -> UV Master -> Unwrap. Exporting the low poly model in obj format at this step. It will make two files: 3D obj file and MTL file. I put the files into the folder "data" in my Maya project folders.
Exporting the displacement and texture maps. To do that, first I change SDiv to maximum, then I went to Zplugin -> MultiMap Exporter. I turned on Texture From Polypaint and Displacement. I also turned on Flip V, which normally is (on) then went under Export Options -> Displacement Map and activated 32 Bit and "exr" buttons and changed Mid number to 0 (to be suitable to Maya), all this should come like this before you changes anything. I set the Map Size to be 2048. After pressing Create All Maps, it generated two files: a displacement map and a texture map. I put these files into the folder of "data" inside my Maya project folder.
Loading into Maya, generating HDR lighting set up and applying lighting maps and subdivision to the model. To do it, I imported the obj file into Maya. Then, I made a Skydome light in the scene. I put TM file into Subsurface Clour and DM file into Displacement Mat under Shading Group Attributes. Finally, it is very important to change the subdivision settings of Arnold renderer: Type: catclark, iterations: 5.
ZBRUSH_PROCESS
MAYA_PROCESS
RENDER_SETTINGS


Final Render_Arnold_Maya
or assignment 1, rig the character in Maya and pose the character into 5 dynamic poses. Render out the 5 poses as 5 separate jpegs.
Modelling process
Ik Rigging process


Rigging process
Ik Rigging process test


Week 8: Substance Painter (photo-realistic texturing)
During this week we were looking to substance painter again, but this time trying to reach a photorealistic look using the method of PBR made by multiple maps, albedo, normal, specular and roughness.
Process:
Base_color
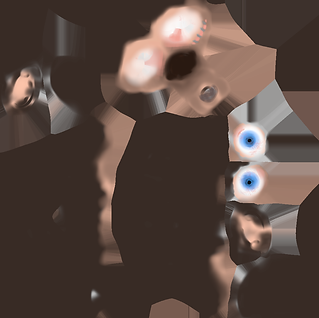
Mixed_AO

Height

Normal_OpenGL

Metallic

Normal

Roughness

Final Render

Week 9 & 10: Megascans - Mixer and bridge.
Creating a PBR shading network for a brick wall. We also gained an understanding of how to create PBR shaders using Megascans Bridge and Mixer software. We are creating shading networks to mimic real words.
Different PBR Maps
-
Albedo: Raw color of the object, like base color.
-
Bump: Adds more details. In Bump shader, white is bumpier, and Black is less bumpy.
-
Displacement: Uses only the red channel, but is not red. We move the mesh using this map. Displacement maps are .exr files, and they can hold a lot of information.
-
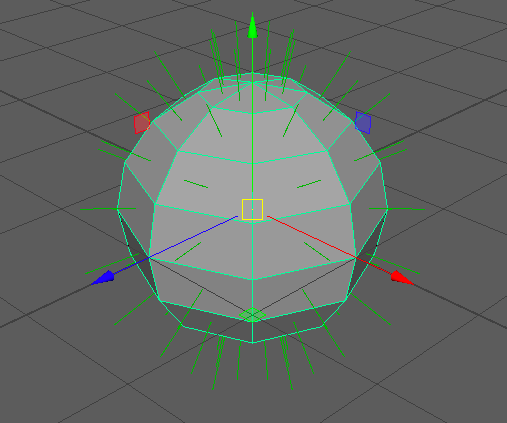
Normal: this map is like a Bump shader, gives an illusion of depth to the surface. This map basically shows the direction of every surface.
-
Roughness: This shows how sharp or soft the reflections are.
-
Specular: Shows how reflective are the surfaces, using a grayscale map.

-
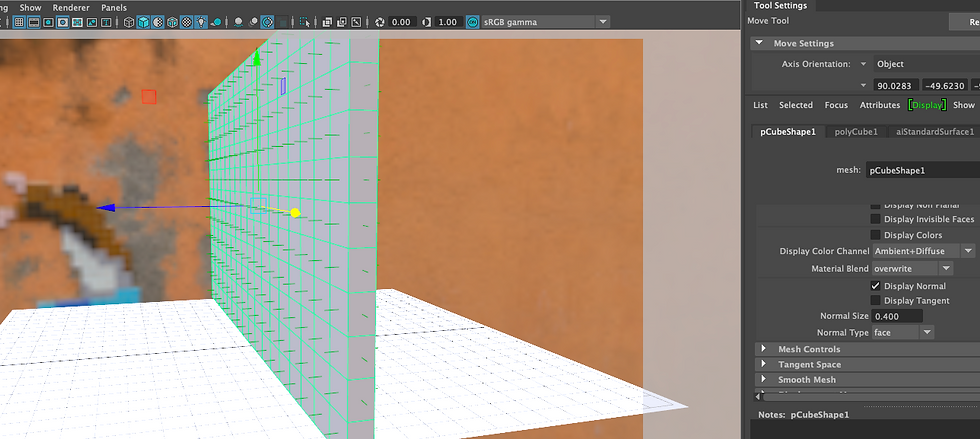
Put all the maps into Sourceimages folder inside my project folder. Place2dTexture: Go to these settings to change Repeat UVs (when the texture is too big) and translate frame options. After setting up Place2dTexture for Albedo map: in Hypershade, select the Albedo map and go to Edit-> Duplicate -> With connections to Network. This helps us to duplicate the Albedo and make other shaders. Note: Colour Space: For colour images: sRGB / For 0-1 maps & grayscale images: Raw

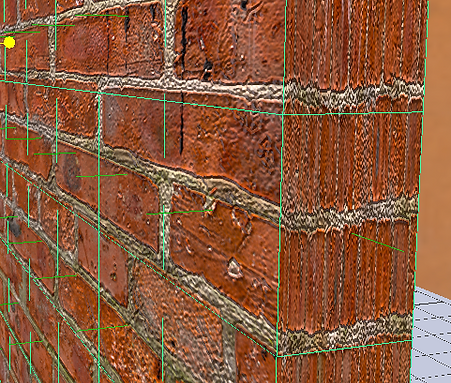
Note: After adding the specular, roughness map, bump and displacement map, turn on "Alpha is luminance" under colour balance in file node (in Hypershade, when importing the file and setting colour space). Connect roughness to Specular RoughnessAdd bump map to fake depth (like drop shadowing) on the surface—White: more deep, black: less deep. After importing the bump map, go to the shader and find Bump mapping under Geometry. This will create a node for us to connect our bump map to it. Note: Bump map does not lift the surface. The surface still will be flat after adding bump shader. Make aINormalMap to connect the normal map to it. Then connect it to Normal Camera (like Bump).
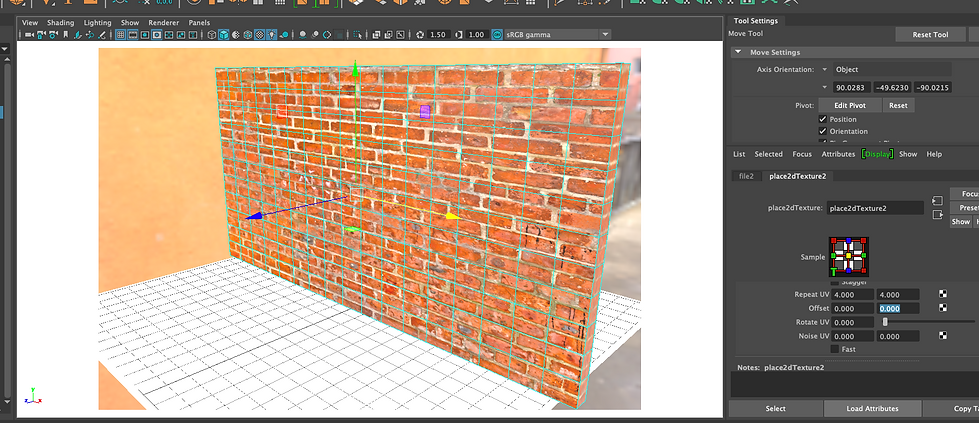
Note: Normal map is more realistic than the Bump map. Add displacement map: displace a physical mesh using the map.
Note: Displacement map should be connected to Shading Group (the last node in the shading network), not the material node. In between the shading group and displacement map, we need a DisplacementShader node. Subdivide at render time: go to Subdivisions under Shape tab in Attribute Editor. Set up type and iterations. Change Displacement attributes under the Shape tab: Hight, Bounds Padding, Scaler Zero Value. Set Scaler Zero Value to 0.5.


To export to Maya, first go to File -> Export to Library. Then, we can access the mix in Bridge. As before, after exporting to Maya, we may need to change 2dTexture Placement Attributes (Translate Frames & Repeat UVs) and Arnold Subdivisions and Displacement Attributes.
Final Renders

Assessment_02
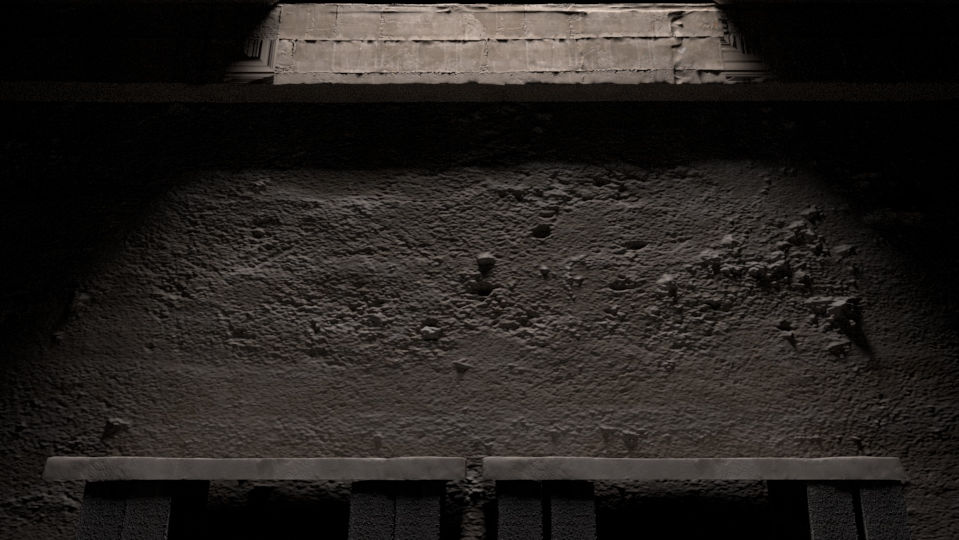
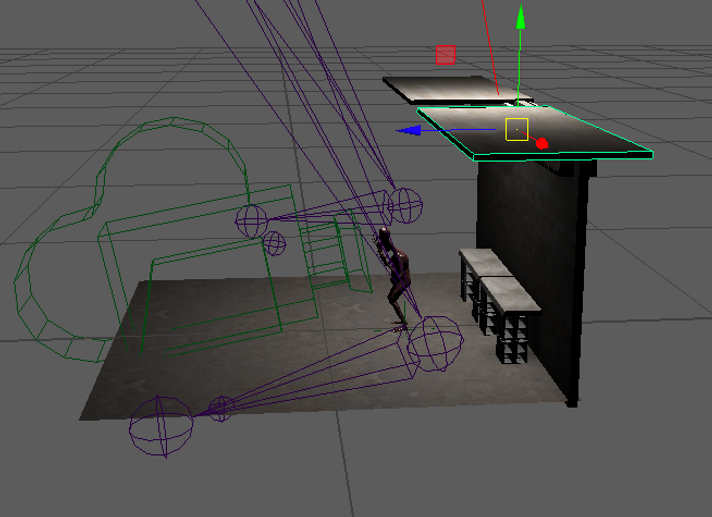
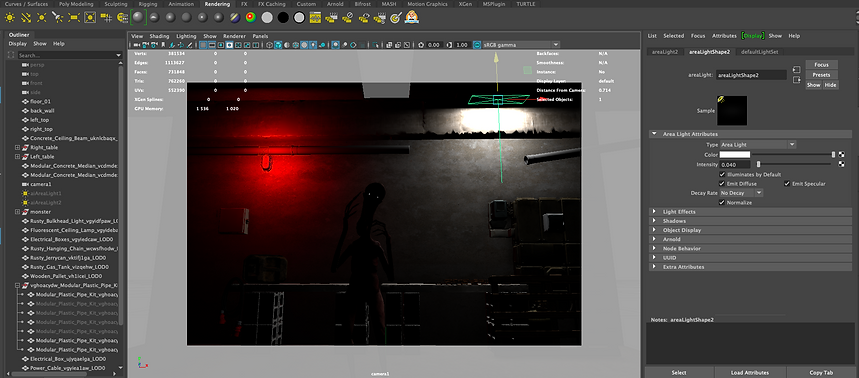
For my project, I have decided to use a scary environment, I have to render light and the animation separately. Because the performance of my laptop is not the better one for this. I recorded every step of the process, and got the idea from an image I saw in Bridge, I hope you like it. Also every recording is made as a time lipase, then the videos wont the that boring to watch
Floor_wall_ceiling_process_01
Enviroment_lighting_texture_02
Texturing_monster_03
texturing_lighting_monster_04
Bridge_assets_05
Monster_mocap_to_enviroment_06
Render_settings_07
Nuke_scene_project_09
Some images of the process:

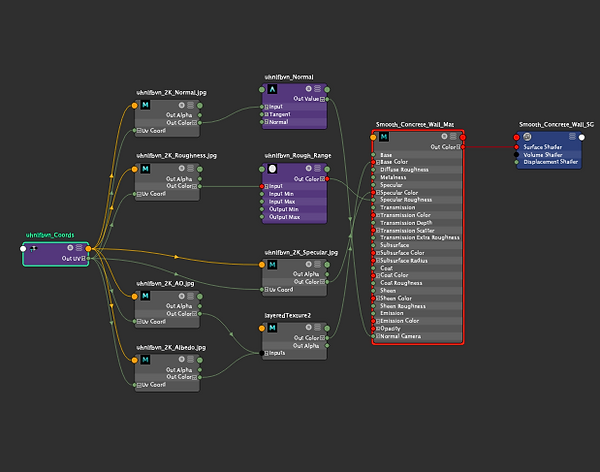
Graph Node texture of the monster.

Different kind of renders:


